Requirements:
- 3dsmax 2025
- uECDK
In this short tutorial, I will guide you how to add posters, wall ads, and general decals to Enlisted. This can only be used in offline, in editor for personal use.
For this you will need to setup dagor plugin for 3dsmax 2025 . You can find guides how to do so here:
https://gaijinentertainment.github.io/DagorEngine/dagor-tools/addons/3ds-max/dagor-max-tools/dagor_max_tools.html#enabling-utilities-in-ui
Furthermore, uECDK is also needed to export assets for Enlisted:
game_rendinst_decor: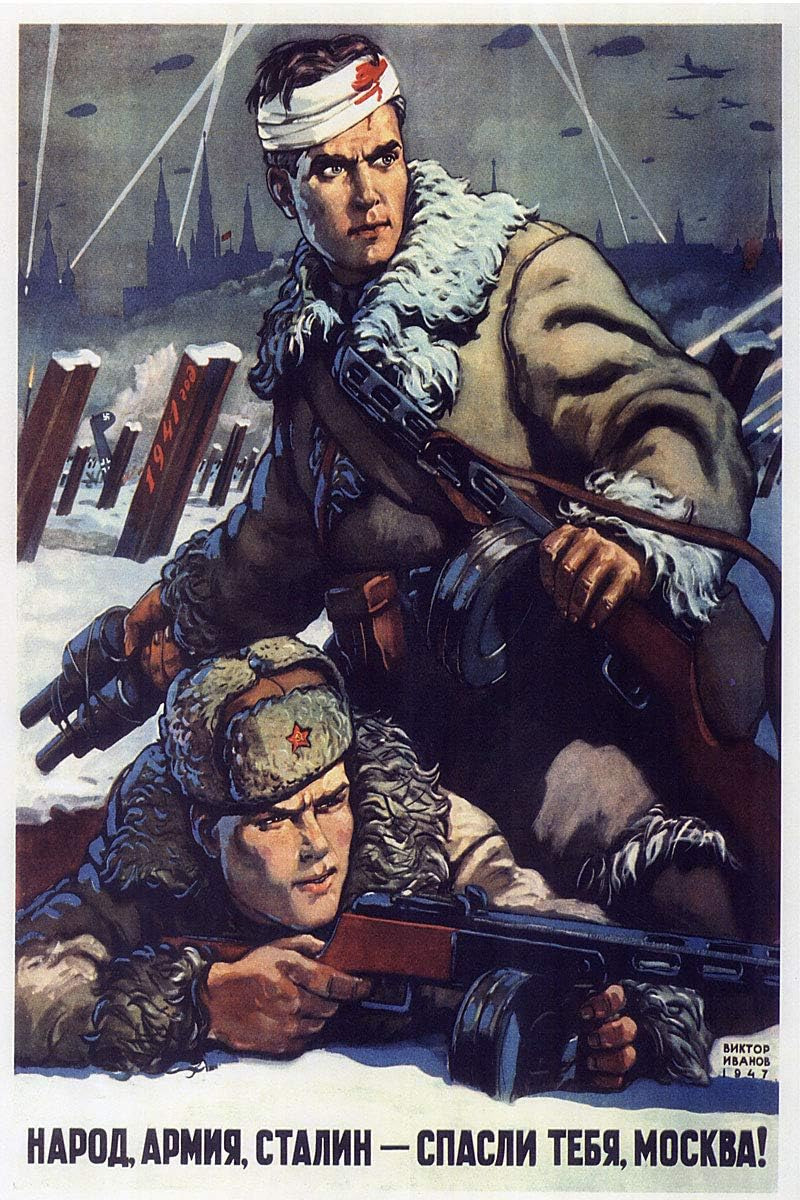
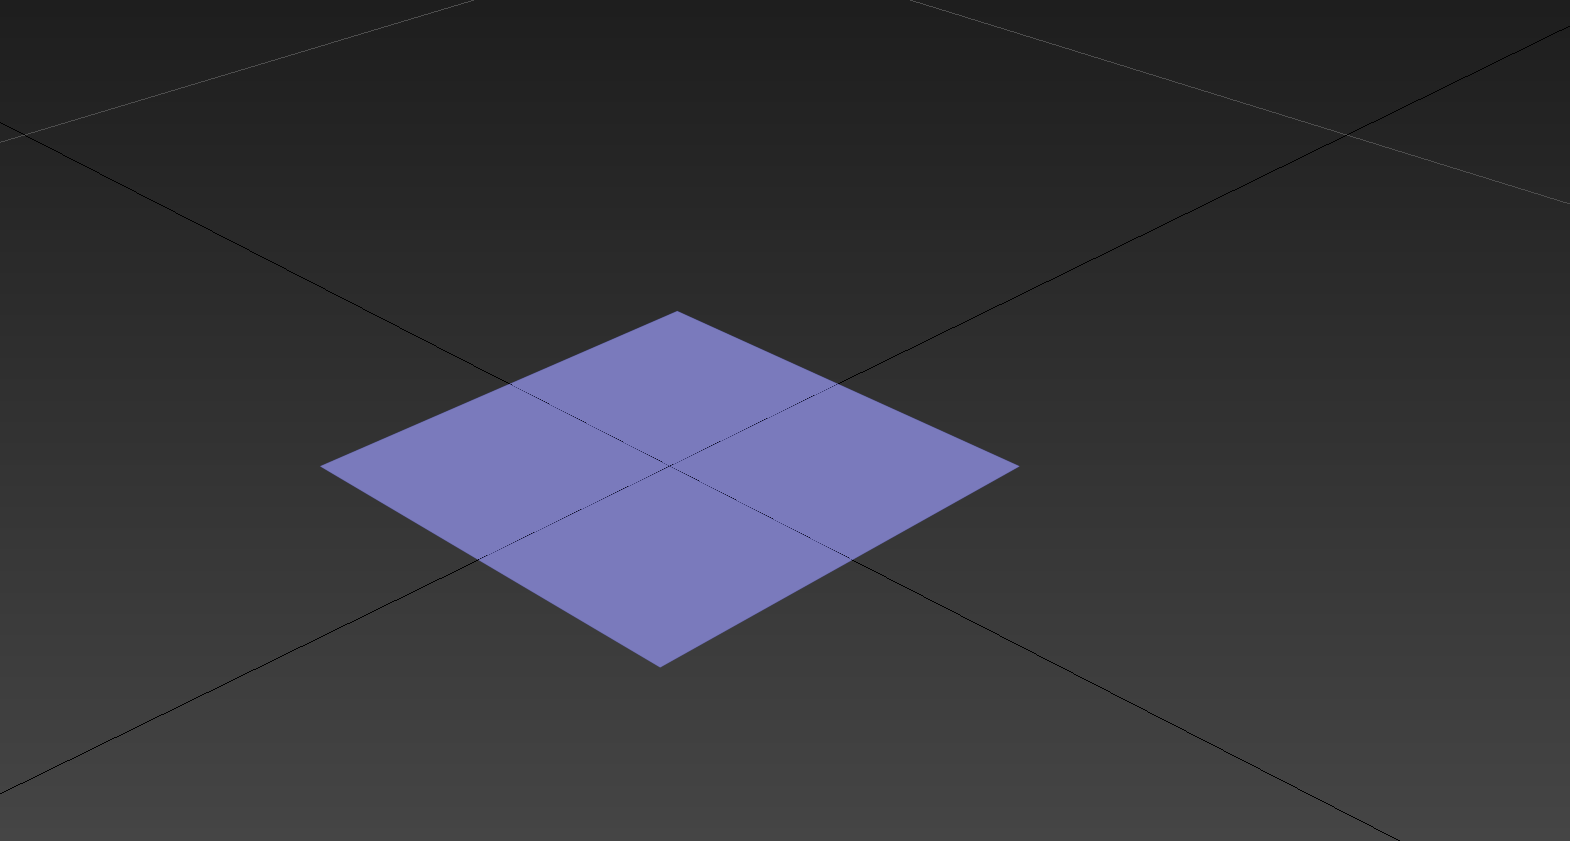
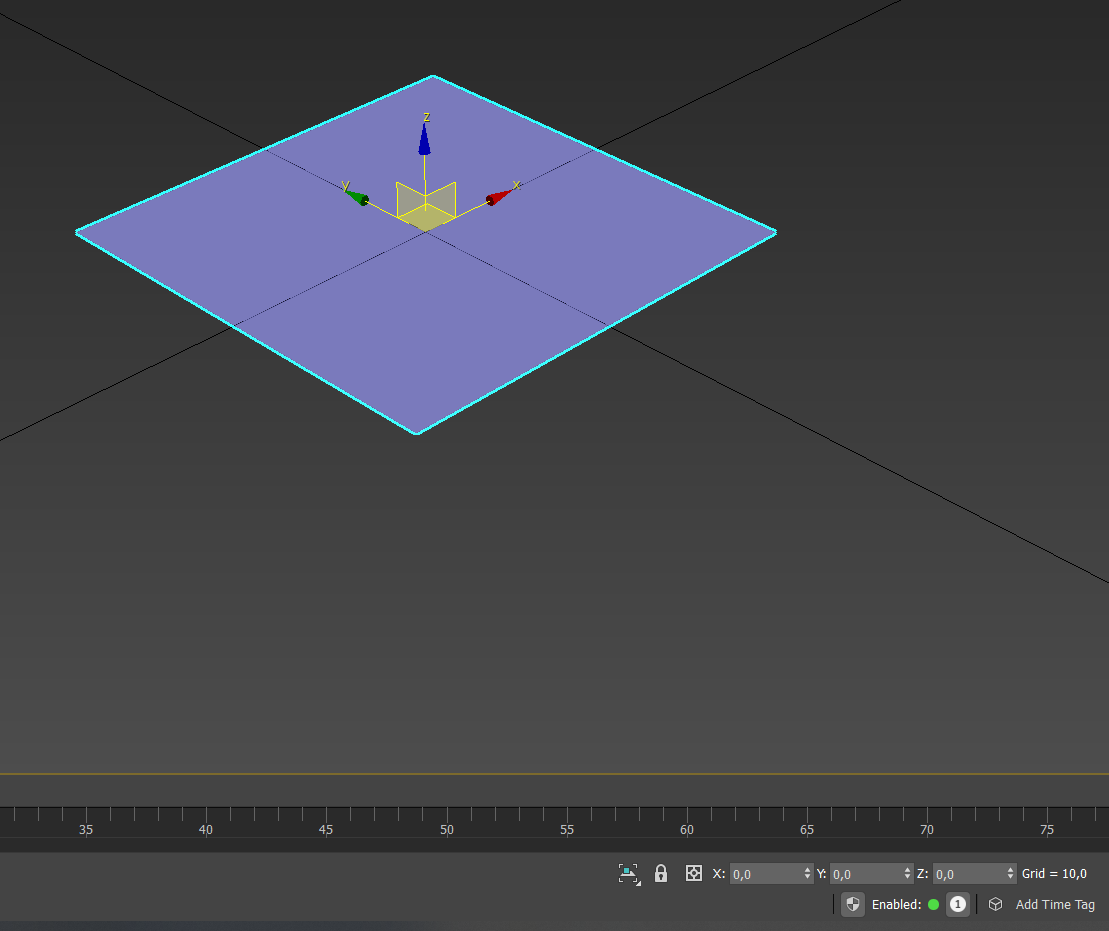
First, open the image in GIMP, or image manipulator of your choice, and export it as TIF image. If the image is not rectangular, like in this case, you need to add empty alpha channel to fulfill this requirement:
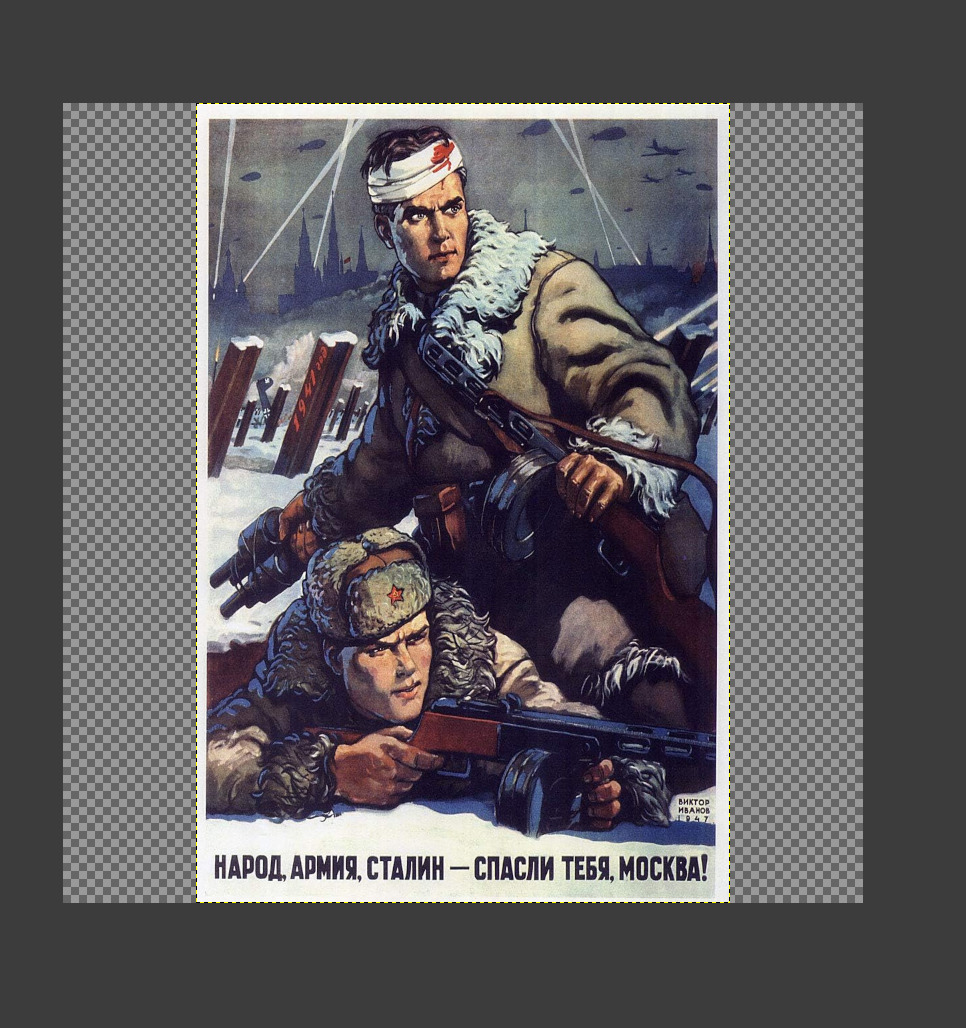

Our image is 800x1200 with 200 pixels on both sides being empty, transparent. Textures always have to be rectangular, therefore both Length and Width should be the same.
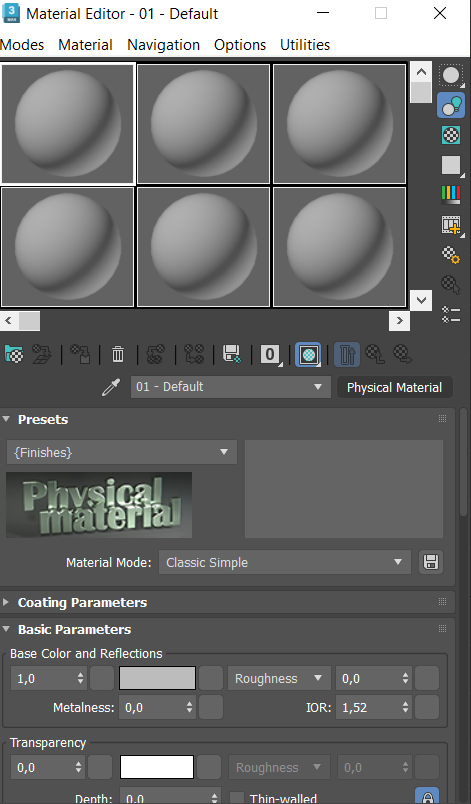
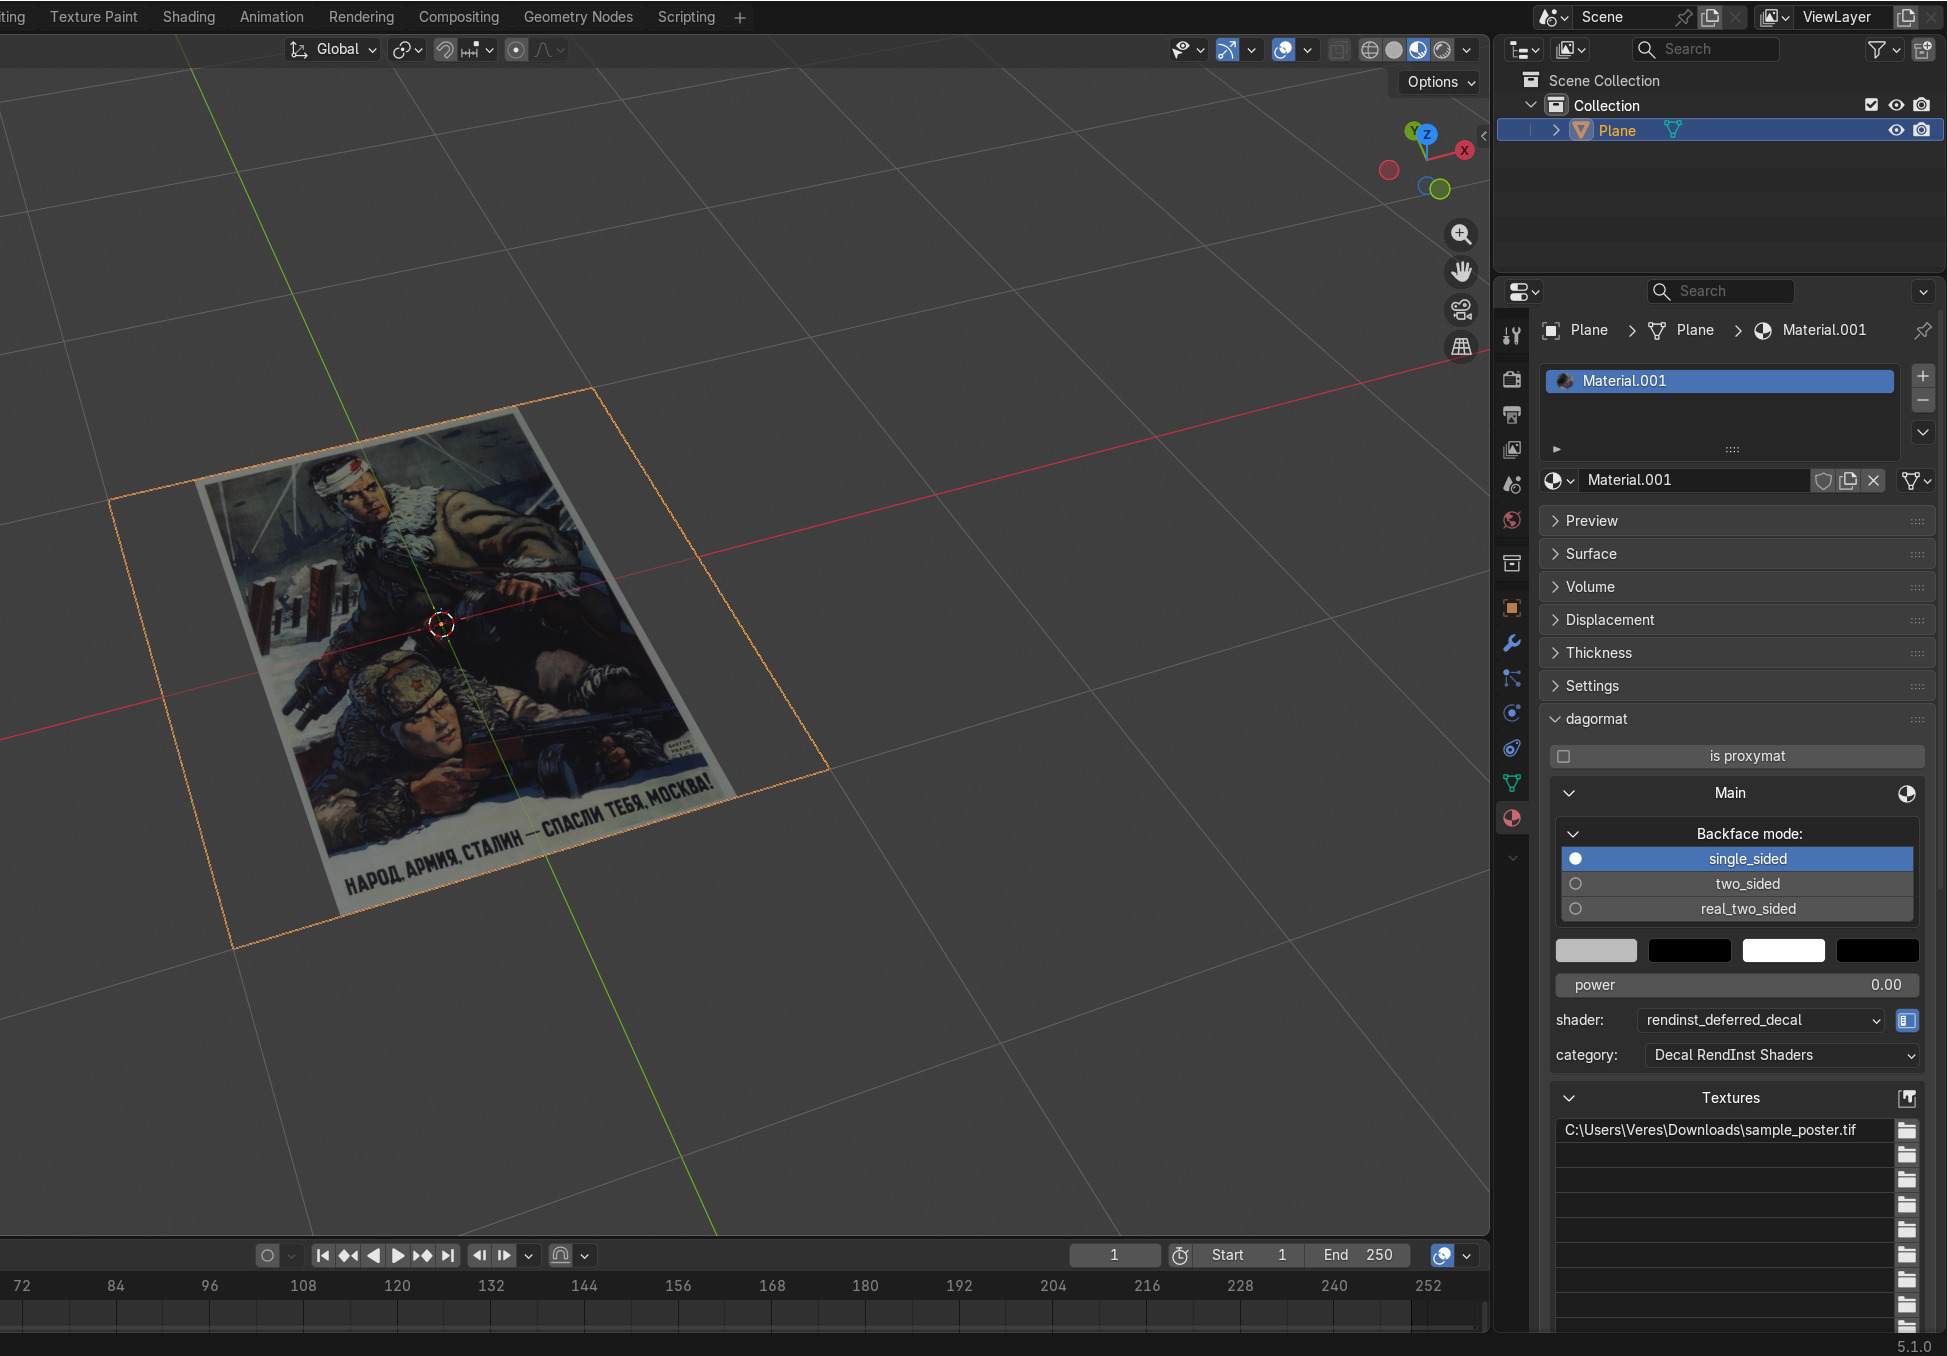
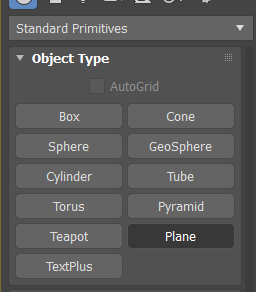
Physical_material and choose “Dagorrat 2” material.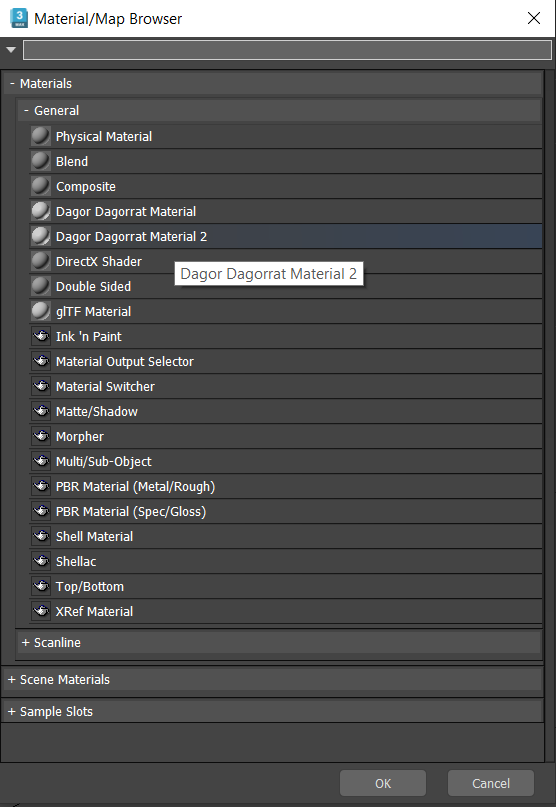
If you can’t find dagorrat in the list, you either have arnold renderer on, instead of scanline renderer, or the plugin is misconfigured. Change that by pressing F10.
rendinst_deferred_decal shader.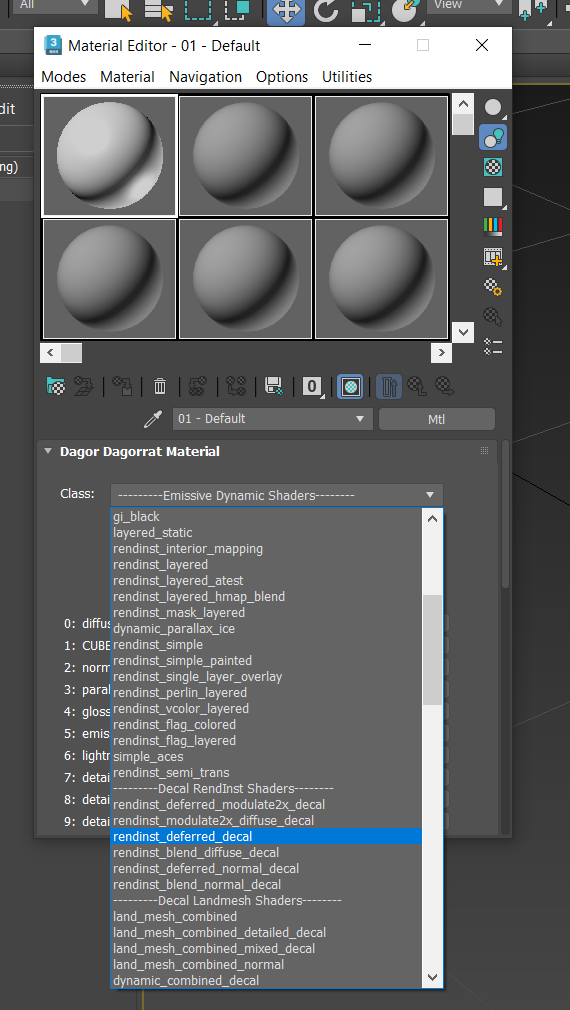
diffuse slot in the material editor: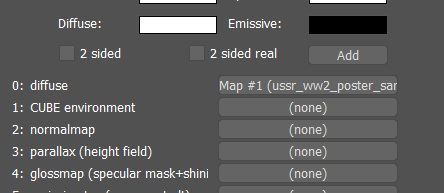

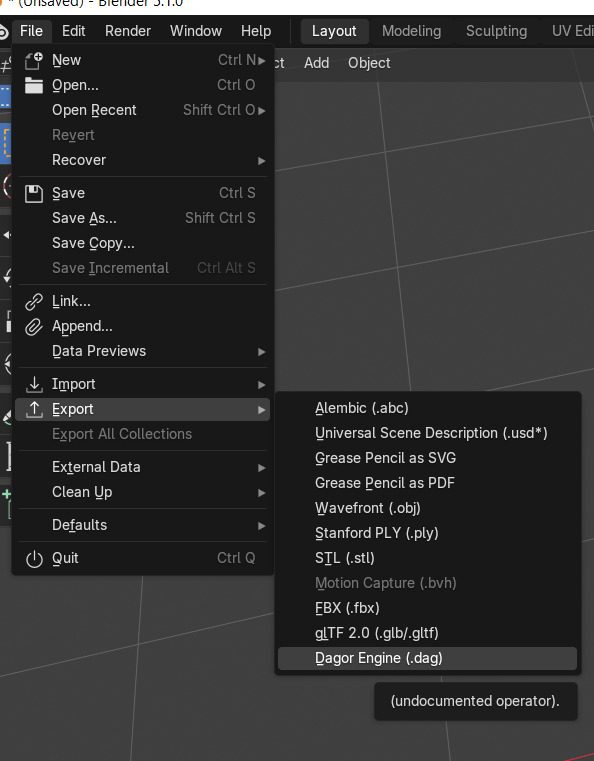
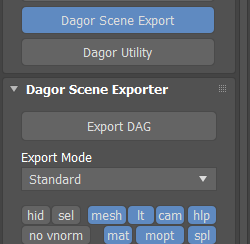
Open Dagor Scene export, and export DAG in standard mode, into the folder we created earlier.
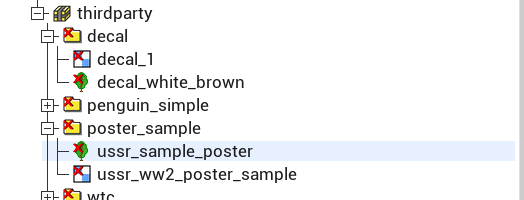
The filename here will determine the RI name in-game! Don’t forget to copy folder.blk into this folder, or AssetViewer will not recognize the poster as rendinst. Suggested filname: ussr_sample_poster.lod00.dag

If for some reason, there is no folder.blk anywhere, create a new one, and paste the following inside:
virtual_res_blk{
  find:t="^(.*)\.lod00\.dag$" //search for files with lod00.dag text

  exclude:t = "^(.*_destr)\.lod00\.dag$" //ignore `destr.lod00` assets
  stopProcessing:b=false
  className:t="rendInst"
  contents {
    lod { range:r=1000;}
    bboxFromLod:i=0
  }
}
Nothing is rendered. This is normal behaviour.
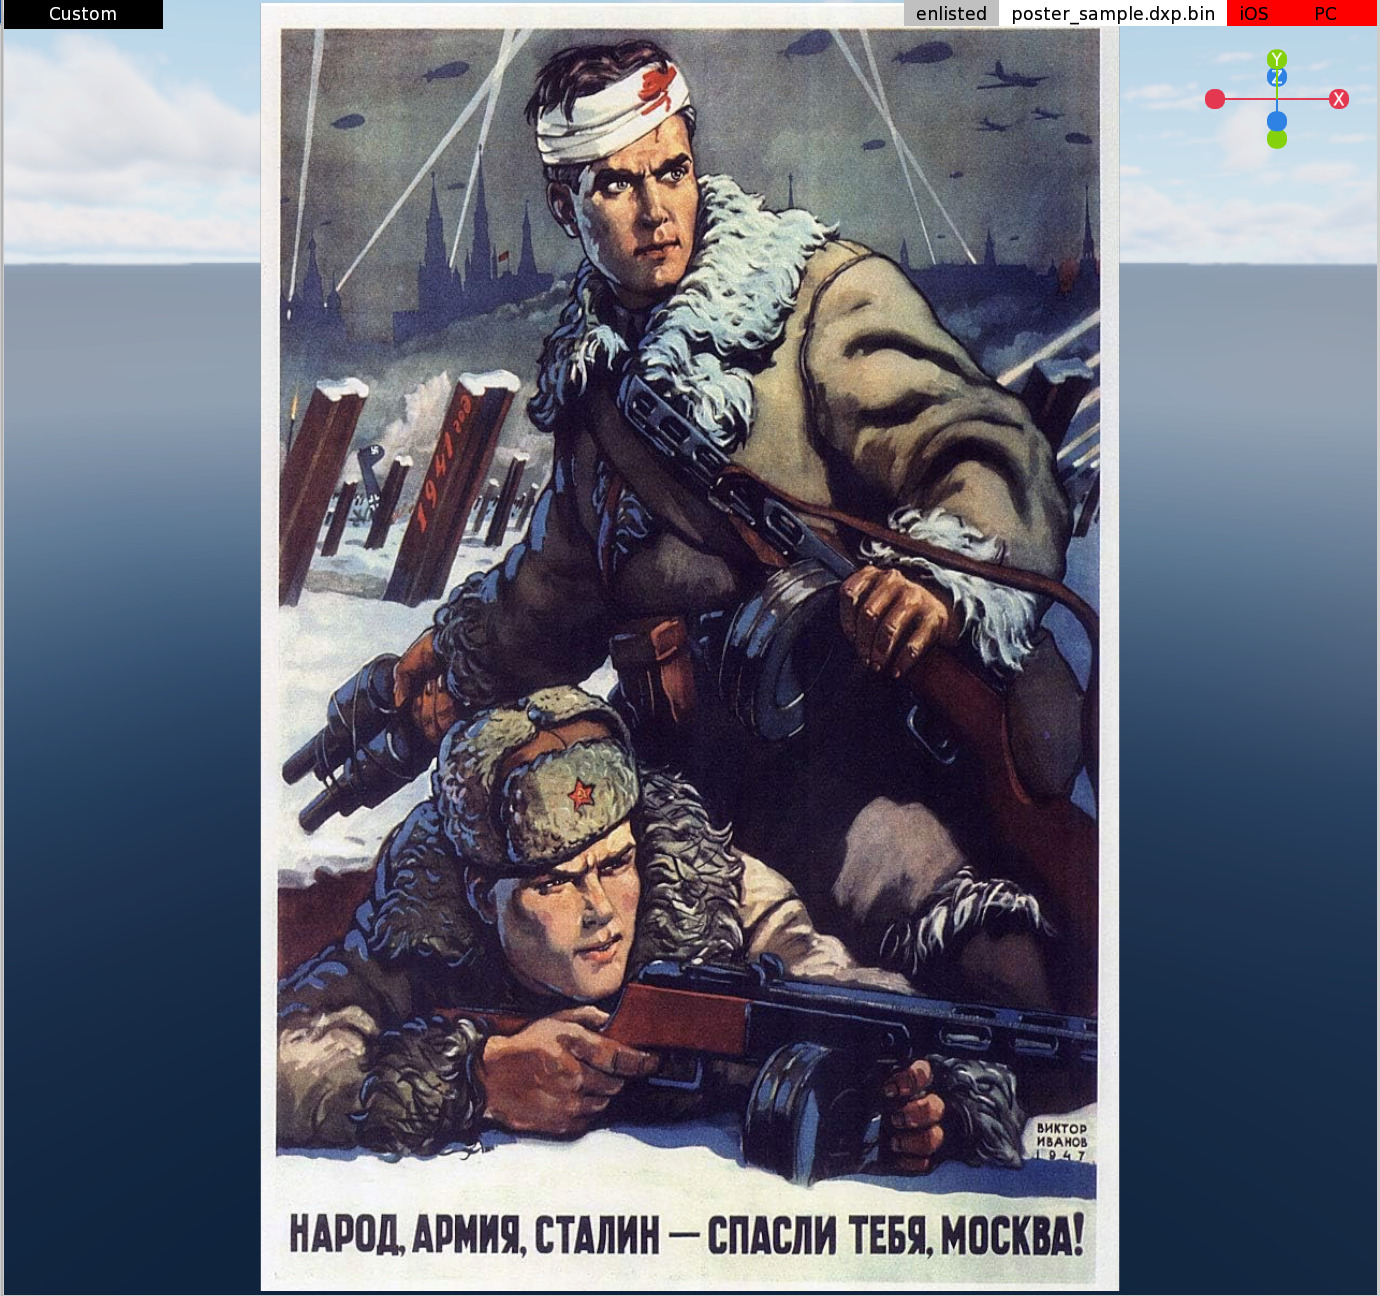
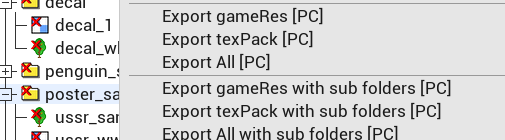
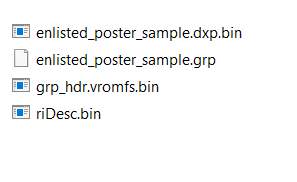
poster_sample and click export allYou should be able to find the game ready assets under
uECDK\main\game\content\enlisted\res. Copy these to Enlisted\content\cdk\res. Create the folders if they don’t exist.
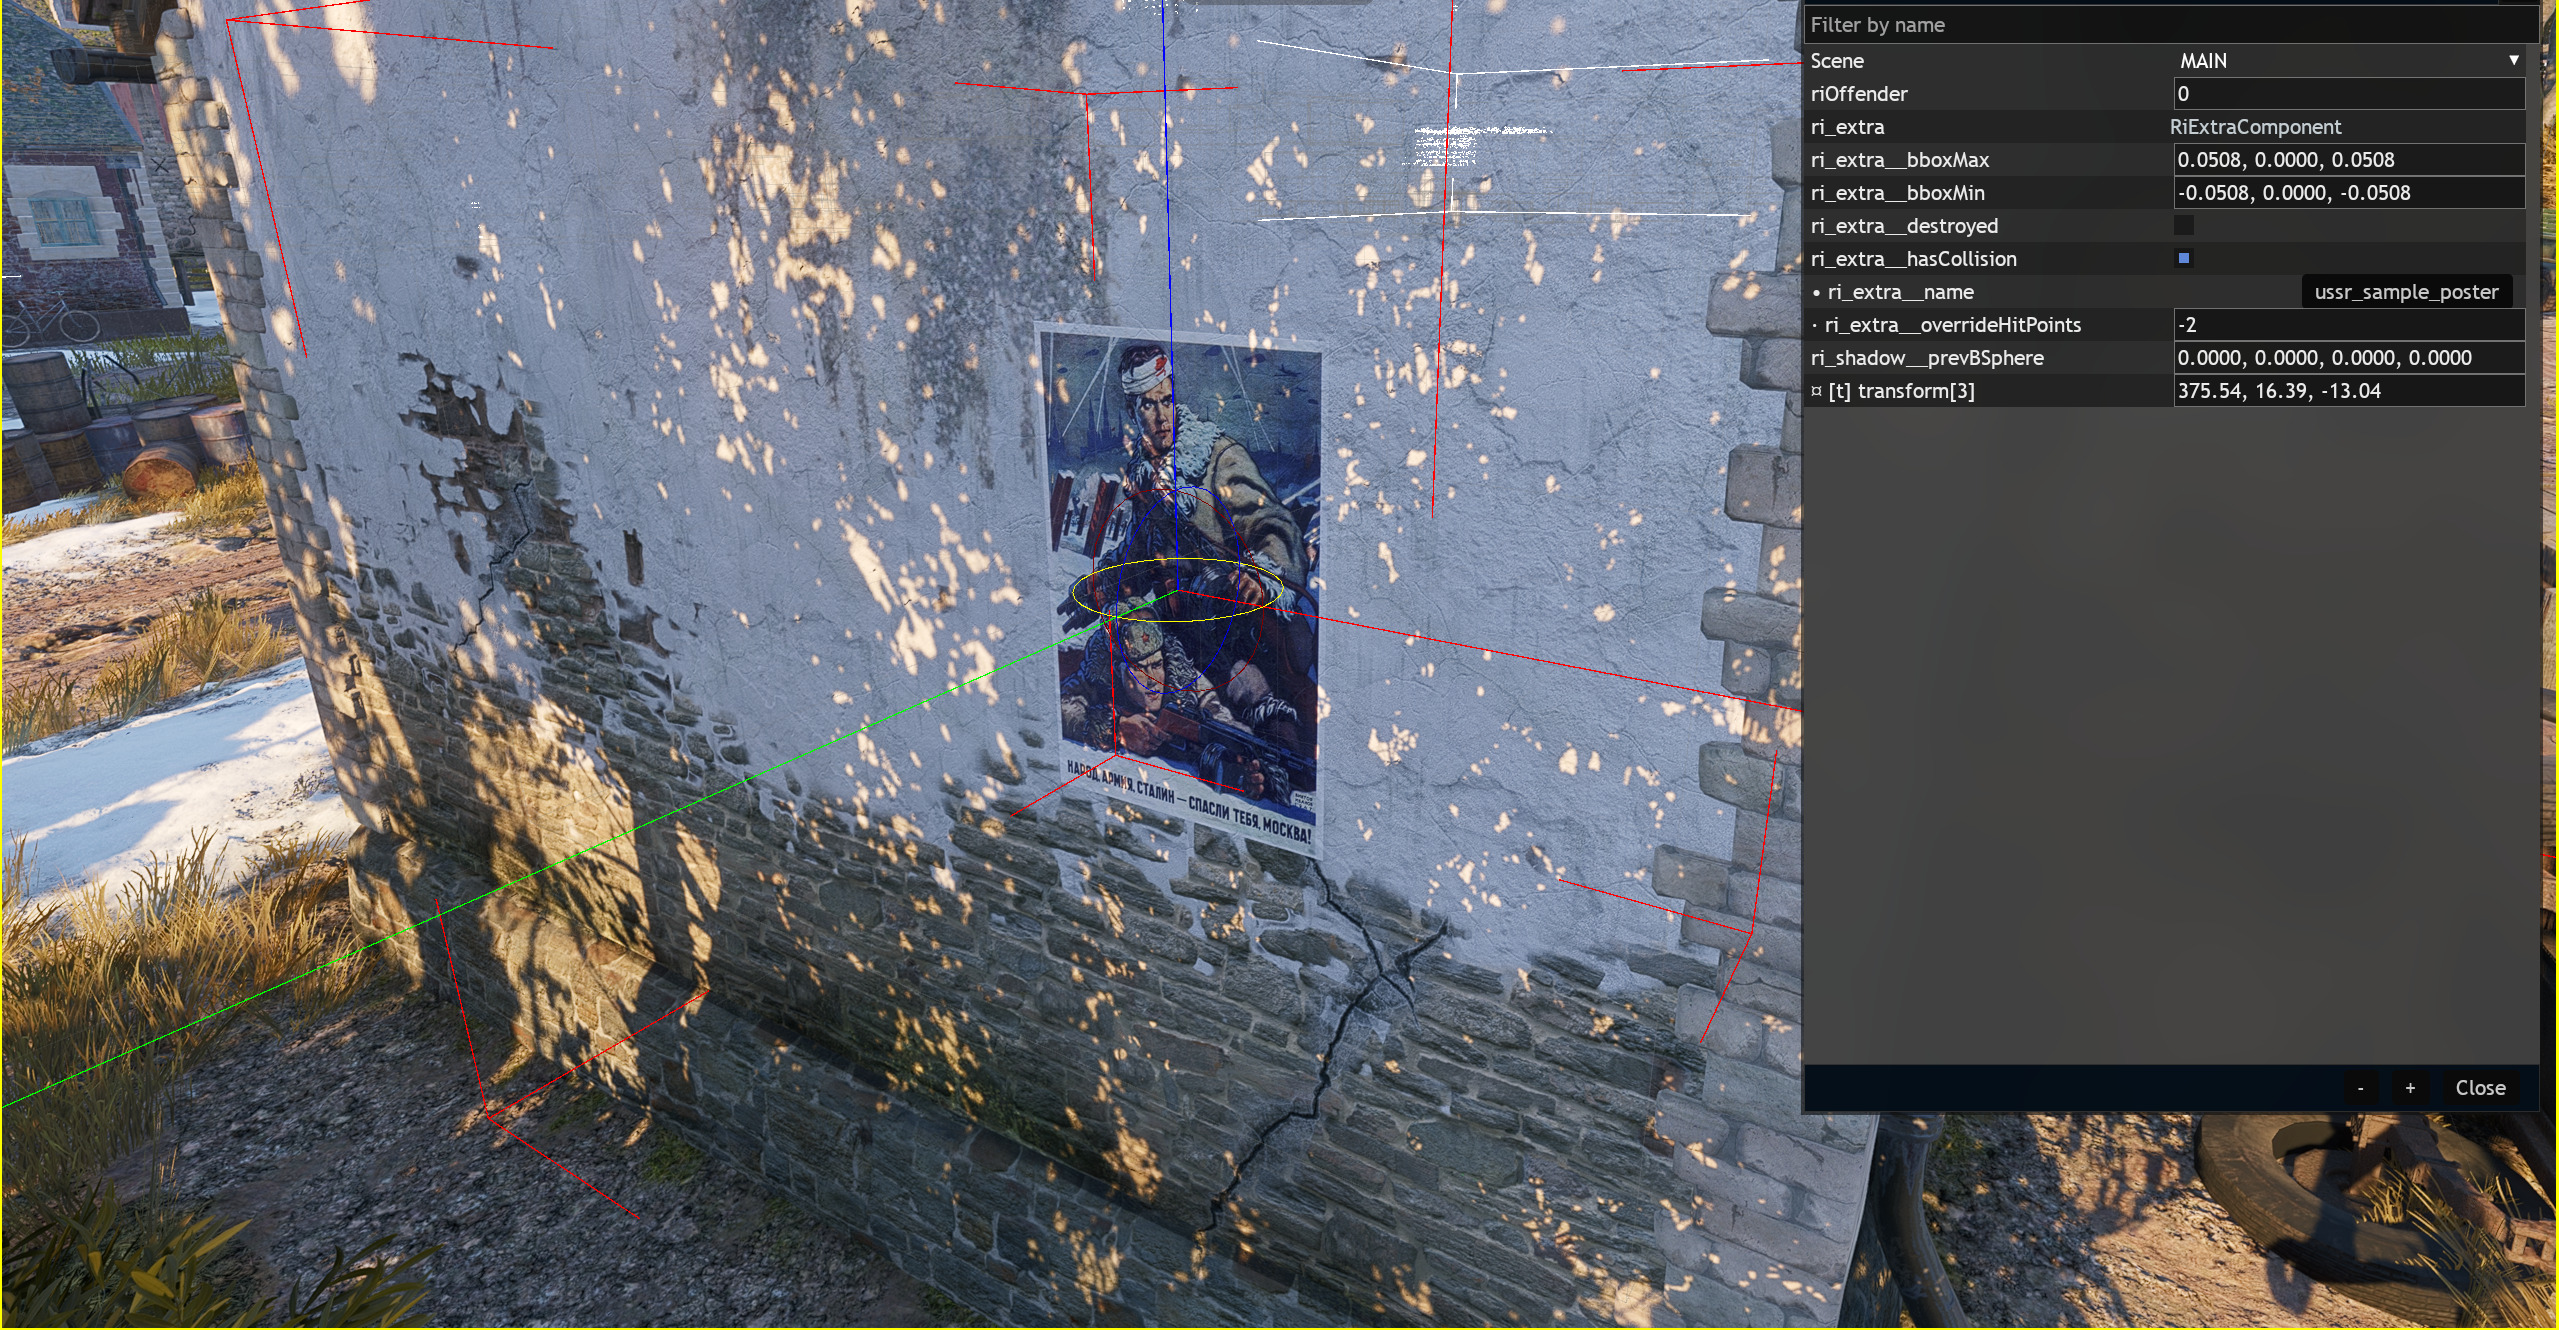
Launch the editor, open a scene and place any RI. The poster will not be found in the selectable rendinst list. After placing a game_rendinst_decor, simply edit the string in scene.blk to the filename you exported the poster with. In this case ussr_sample_poster.