In this guide, I am going to show you the following:
- Add models that can be placed on maps AND played online, but can only be placed on custom levels - These are called prefabs. (Not to be confused with prefabs in editor)
- Add models that can be placed on already made maps but not be used in online matches (in editor only) - These are called rendinsts
The process for both are almost the same. Differences will be explained along the process. I am going to use Blender.
Download latest version of Blender from Steam or the official site.
Install dag4blend plugin. dag4blend.zip (2.4 MB)
Download uECDK uEnlistedCDK - #13 by dularom This is needed to be able to browse textures of the game (most of them). CDK is also required to export custom assets into format Enlisted can load. (For rendinsts only)
dag4blend is an official plugin made by Gaijin to allow asset integration into Dagor with Blender. This version however, was modified by me. It features compatibility with latest Blender versions, and additional features.
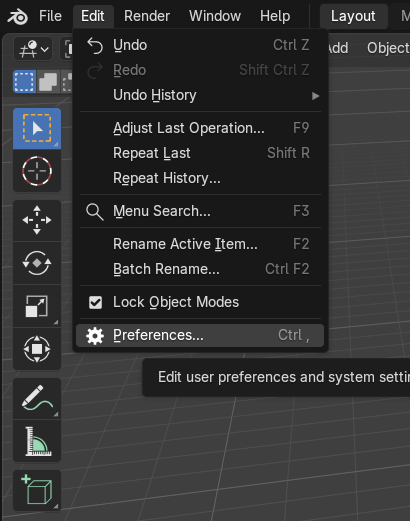
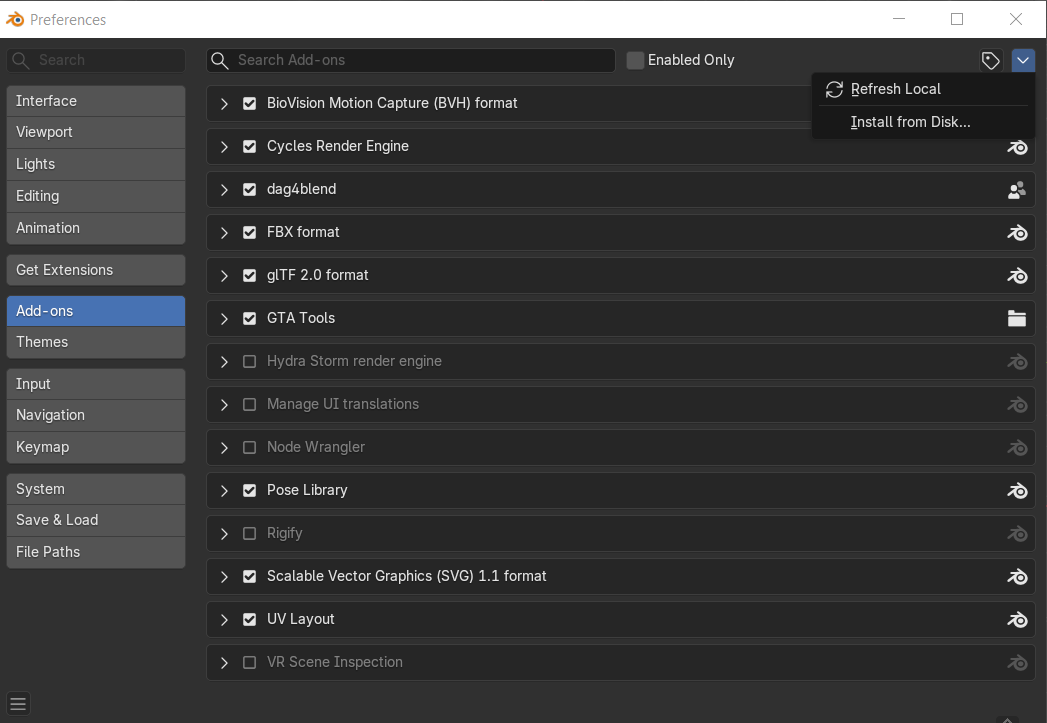
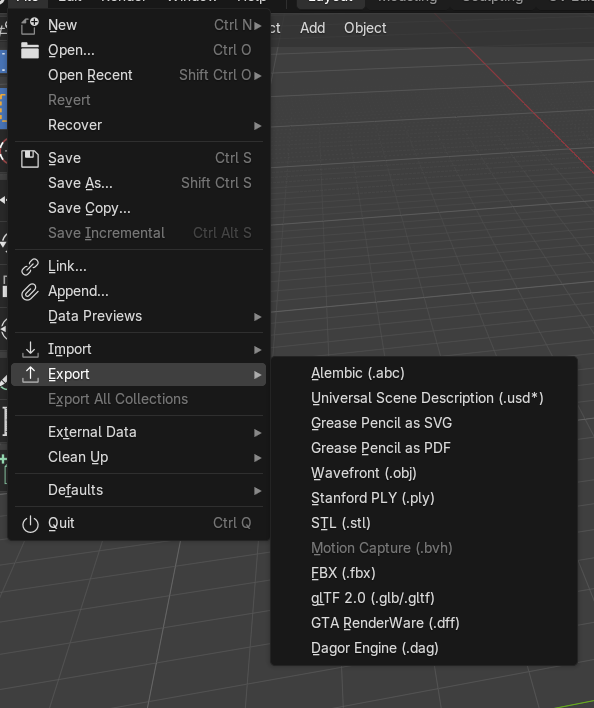
Load the downloaded model into Blender. You can drag and drop the model into the viewport, or use the File → Import option. In this guide, the Enlisted Modders “statue” model will be used as an example.

This is a raw mesh. It lacks:
- Textures
- Materials
Texture and material are not the same. Their combination will determine how the model will get rendered in the game. SImply speaking, textures are images projected onto mesh, while material will determine how that image will behave in engine. We will talk about more materials in later guides.
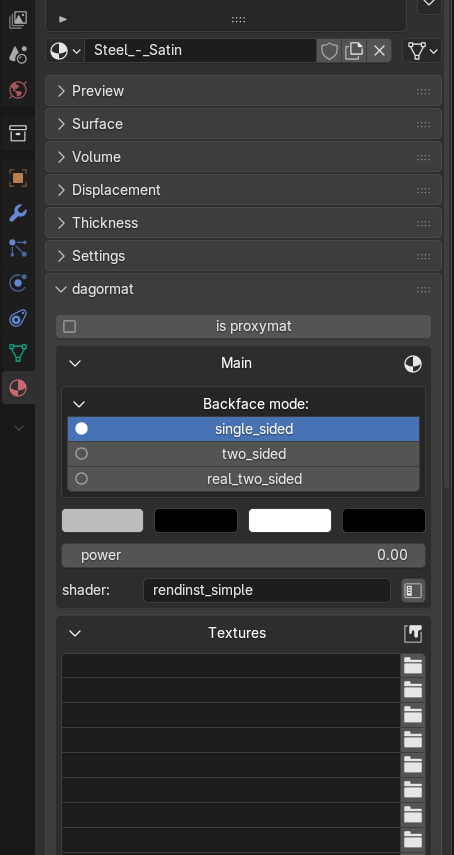
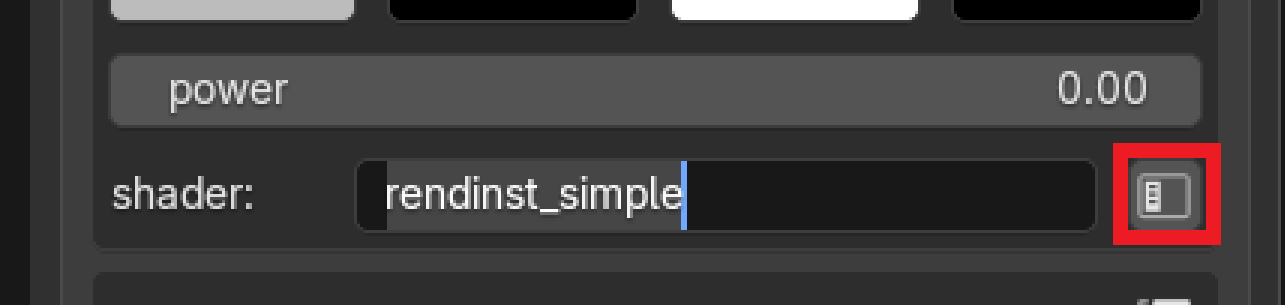
The default shader, which is also our material is rendinst_simple. This is the most commonly used shader, it can do a lot of things. Sometimes you will see simple_aces. They are the exact same shader, except, prefabs need to have simple_aces to work, but rendinsts can use simple_aces without a problem.
I am going to make a prefab first, so this will be renamed to simple_aces.
It is possible to manually rename the shaderclass by clicking inside the textbox. Or select the icon highlighted in red to browse from the list.
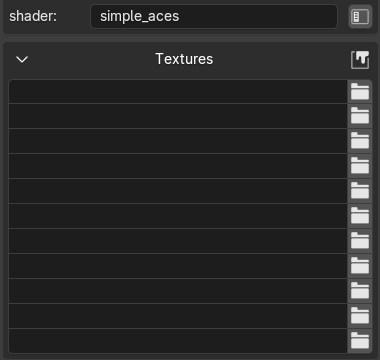
- 1st slot is diffuse texture
- 3rd slot is normalmap
- 6th slot is emissive mask
Other slots are irrelevant for now.
Selecting the folder icon will open a window, asking the user to choose a texture file.
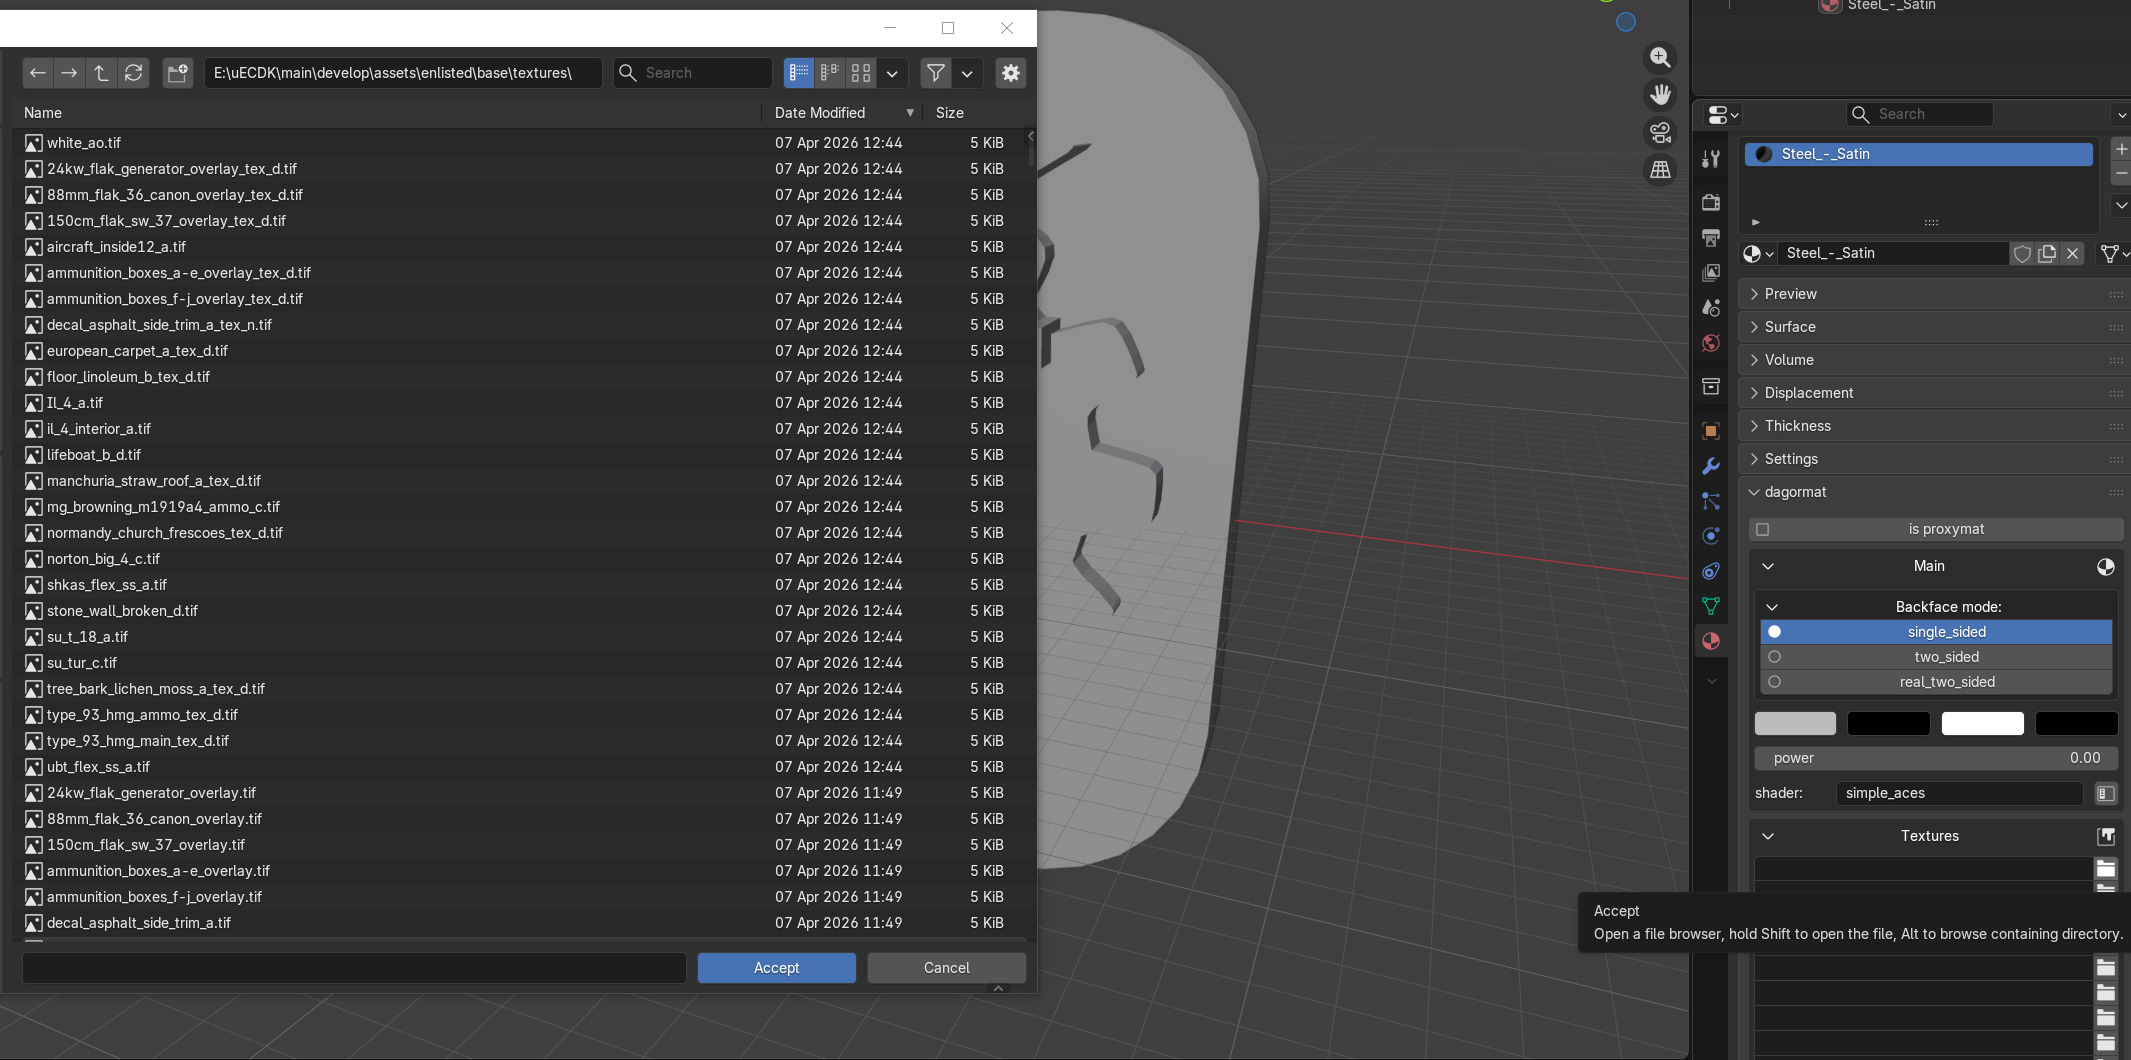
This is a statue, so something close to stone or concrete would look the best.
I am going to choose this texture:
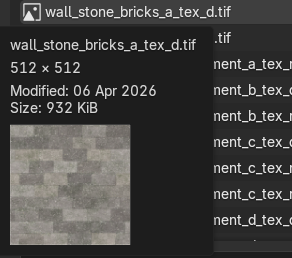
In uECDK, (and all Gaijin games) textures have postfix, that will reveal their type:
- tex_d - Diffuse
- tex_n - Normal
- tex_m - material - mostly used for decals, these are diffuse texture too.
Now the model has texture and material.

Not ideal, but at the moment, game’s textures have to be used. To improve the look, it is possible to change the texture rotation, dimension, to UV Edit the model, but its not the task of this guide to explain that.
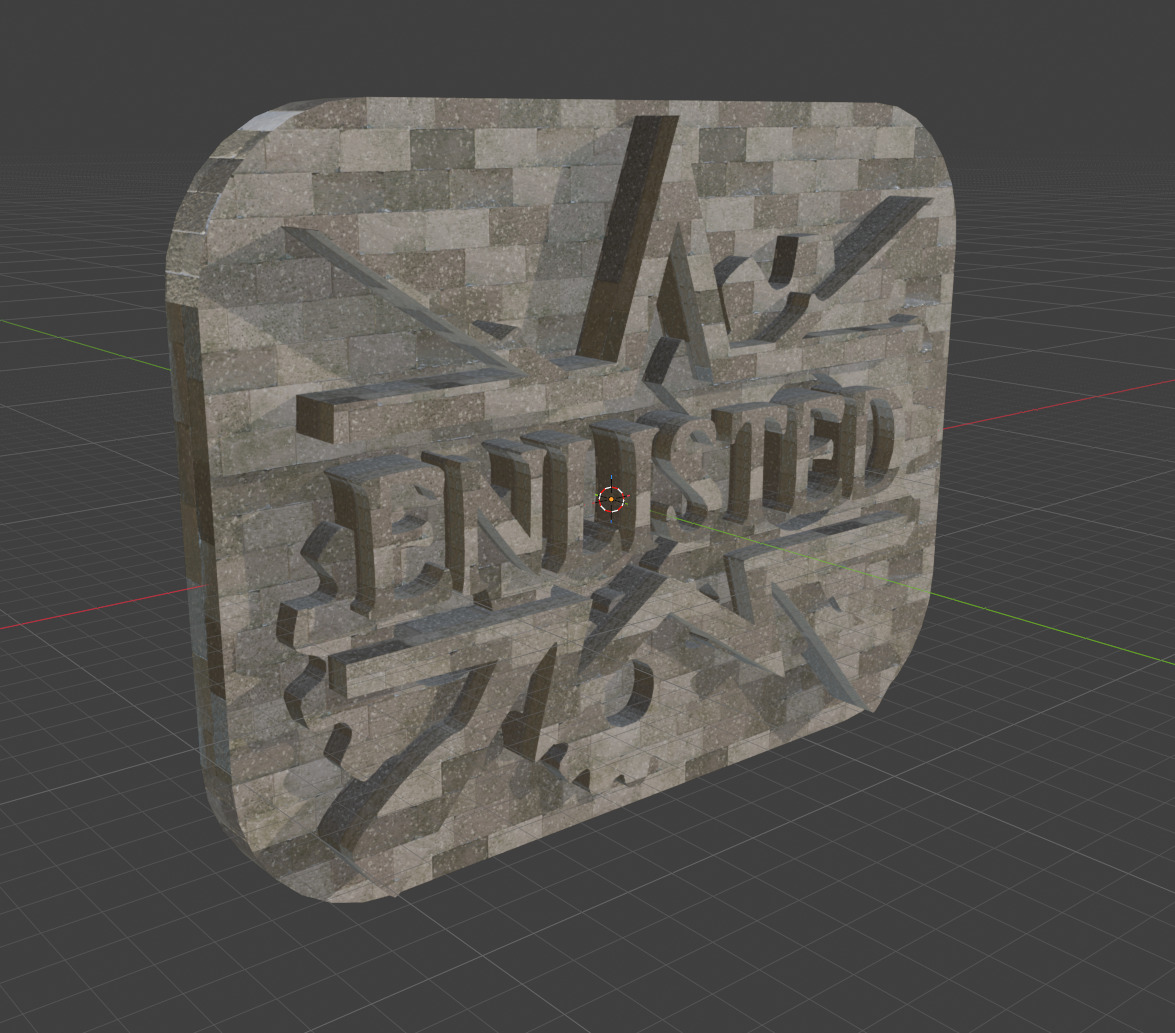
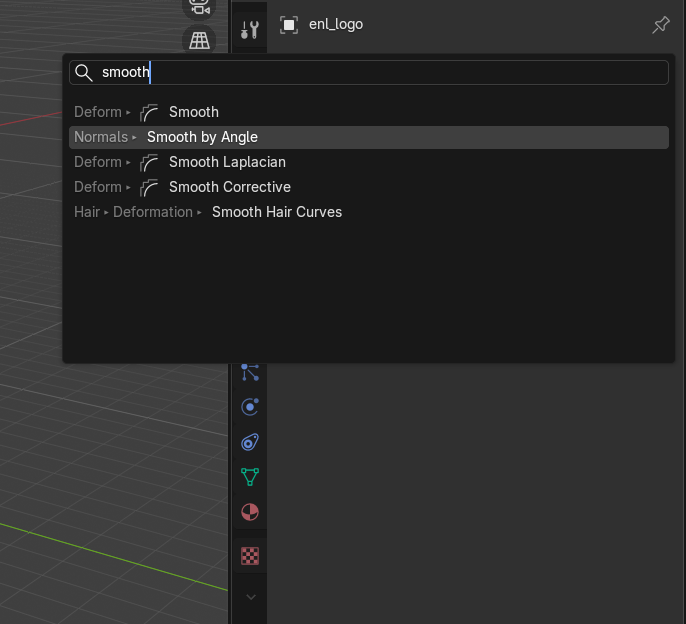
Before exporting, model needs to have smoothing at 30 degrees. Missing this step could prevent loading of the model in CDK.
Add modifier Smooth by Angle and set it to 30. Apply the modifier.
To export, choose File → Export → .dag
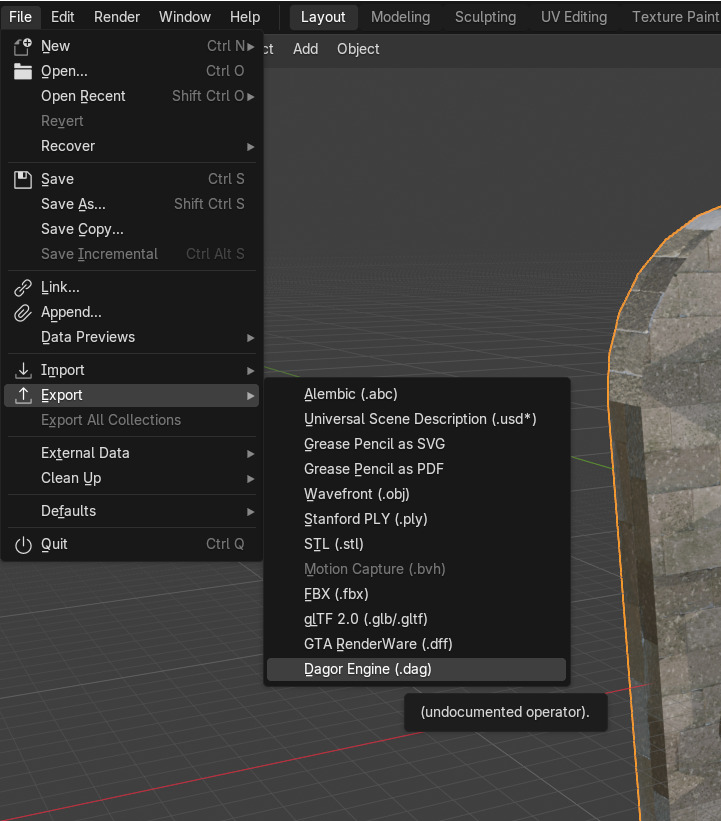
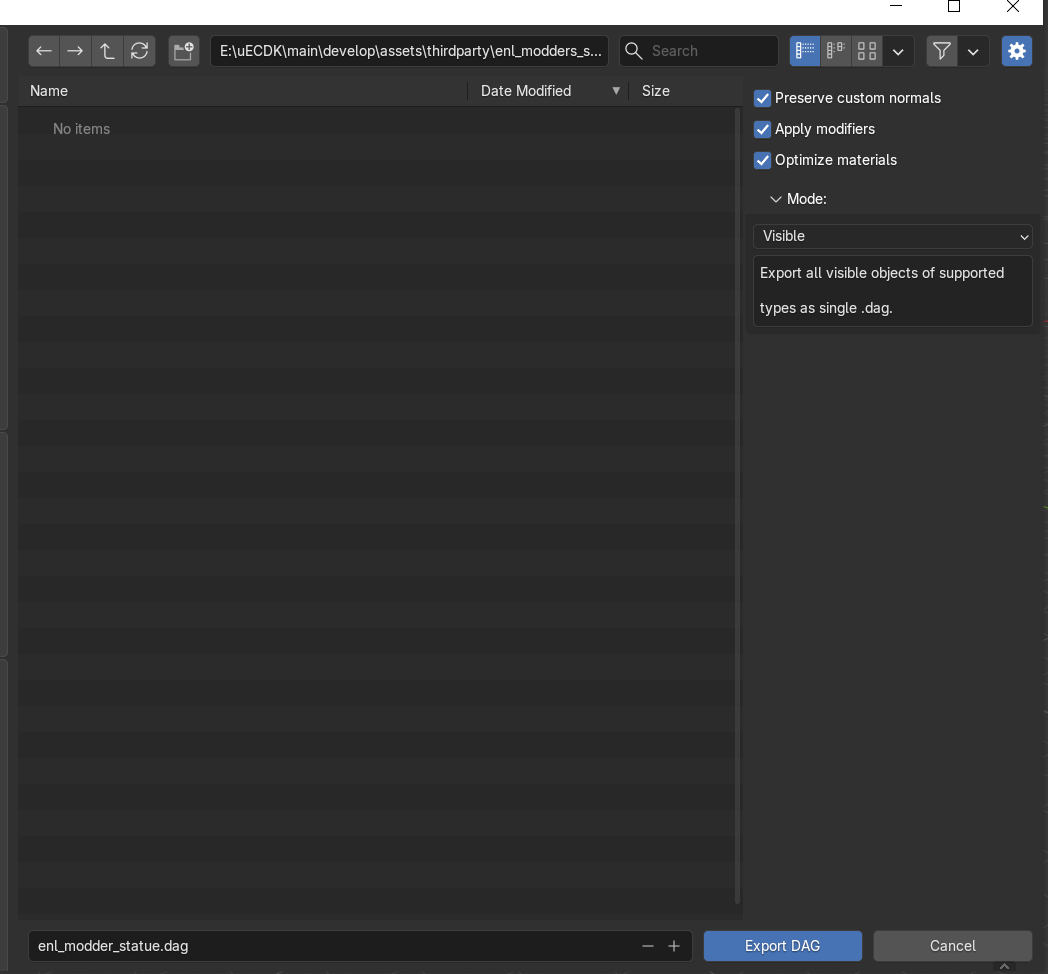
In this case the exported model will act as a prefab.
To export rendinsts refer to: [Guide] Add Models (Rendinsts) to Enlisted. This guide is the same process but in 3dsmax. The steps at and after export are identical.
The current build of uECDK has broken prefab shaders. I have provided a “prefab_ps50.tools.shdump” as a temporary fix with the latest release. At the moment, prefabs will not render or export with the regular shaderdump!
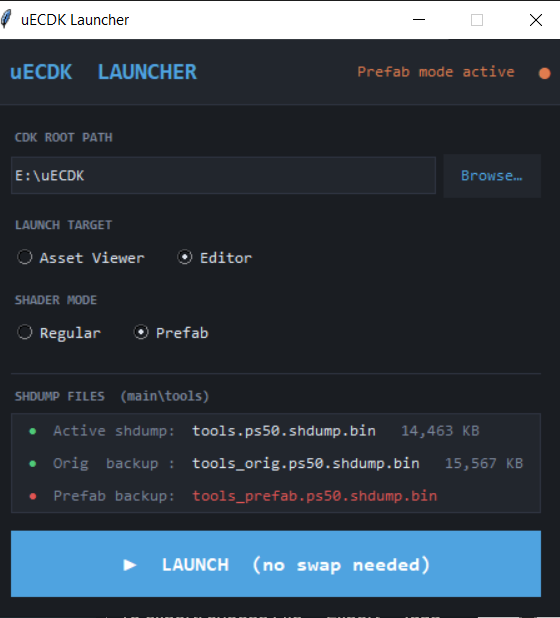
Load uECDK in “prefab mode”.
I use the navmesh to navigate the otherwise completely black viewport. It is not ideal, but it is what it is.
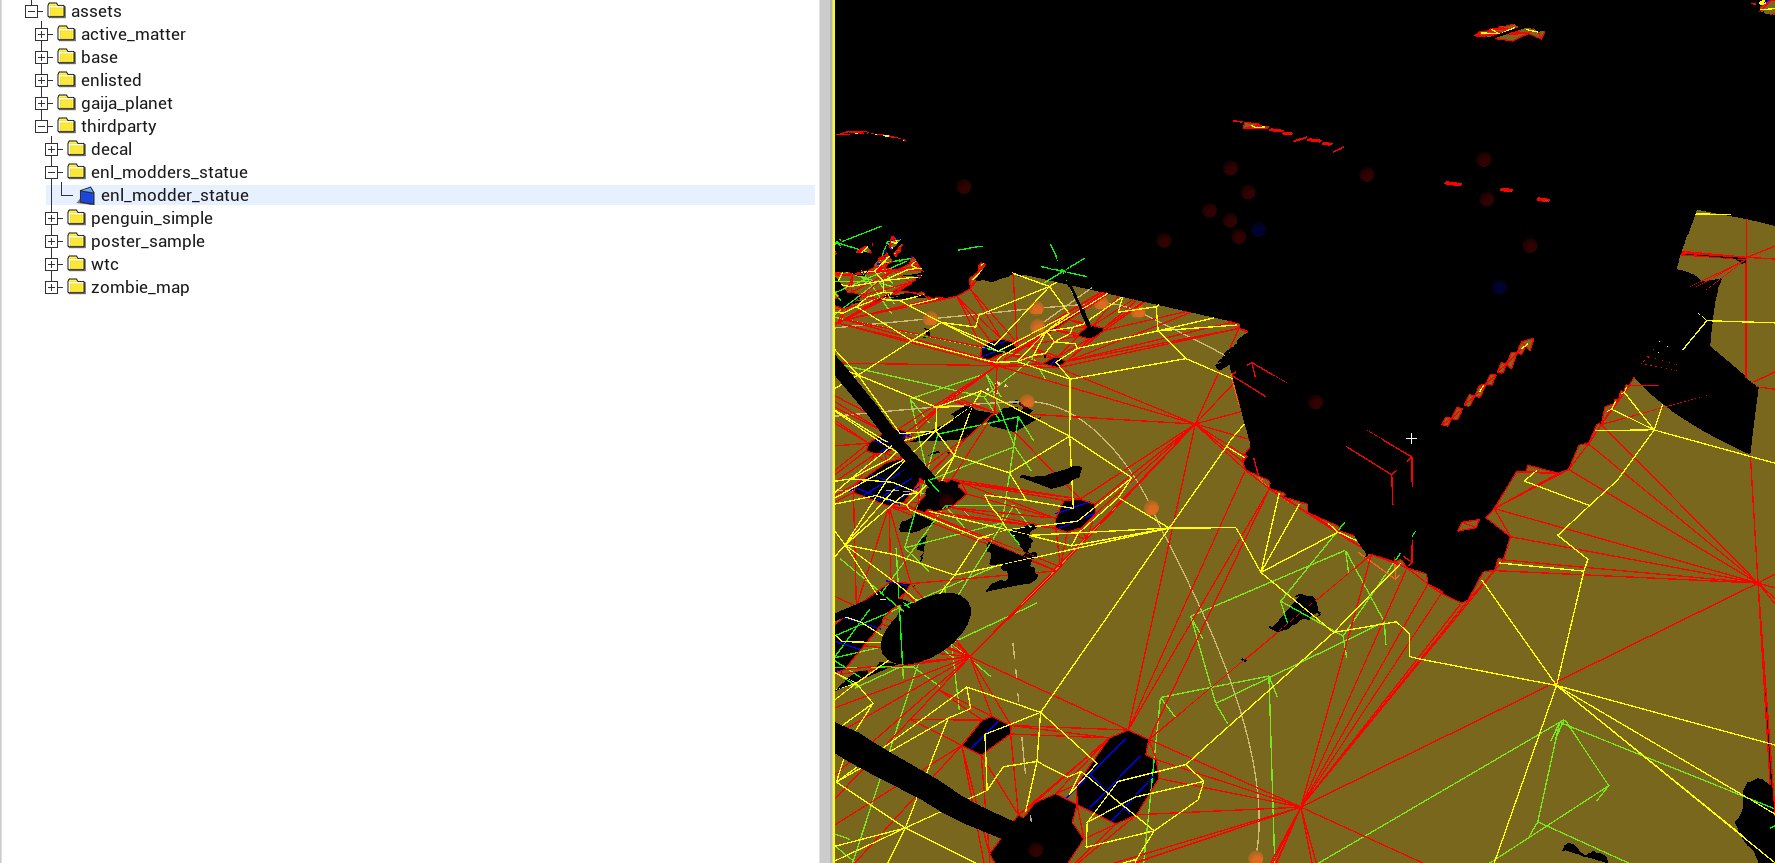
Now this is a prefab, that will get baked into level binary. That is why it can be loaded into online custom matches. Large prefabs with complex geometry will take up a lot of space in level.bin. This size will increase if you decide to export it with collision.
Maximum collision data for prefabs per level.bin is 64kb!! There is no such limit for custom models without collision.
To save space, untick “Has collision”. This can be useful for objects players cannot reach or interact with.
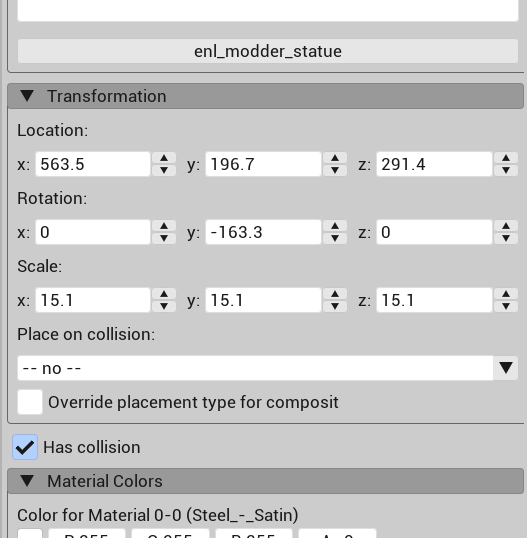
Then simply export the level binary.
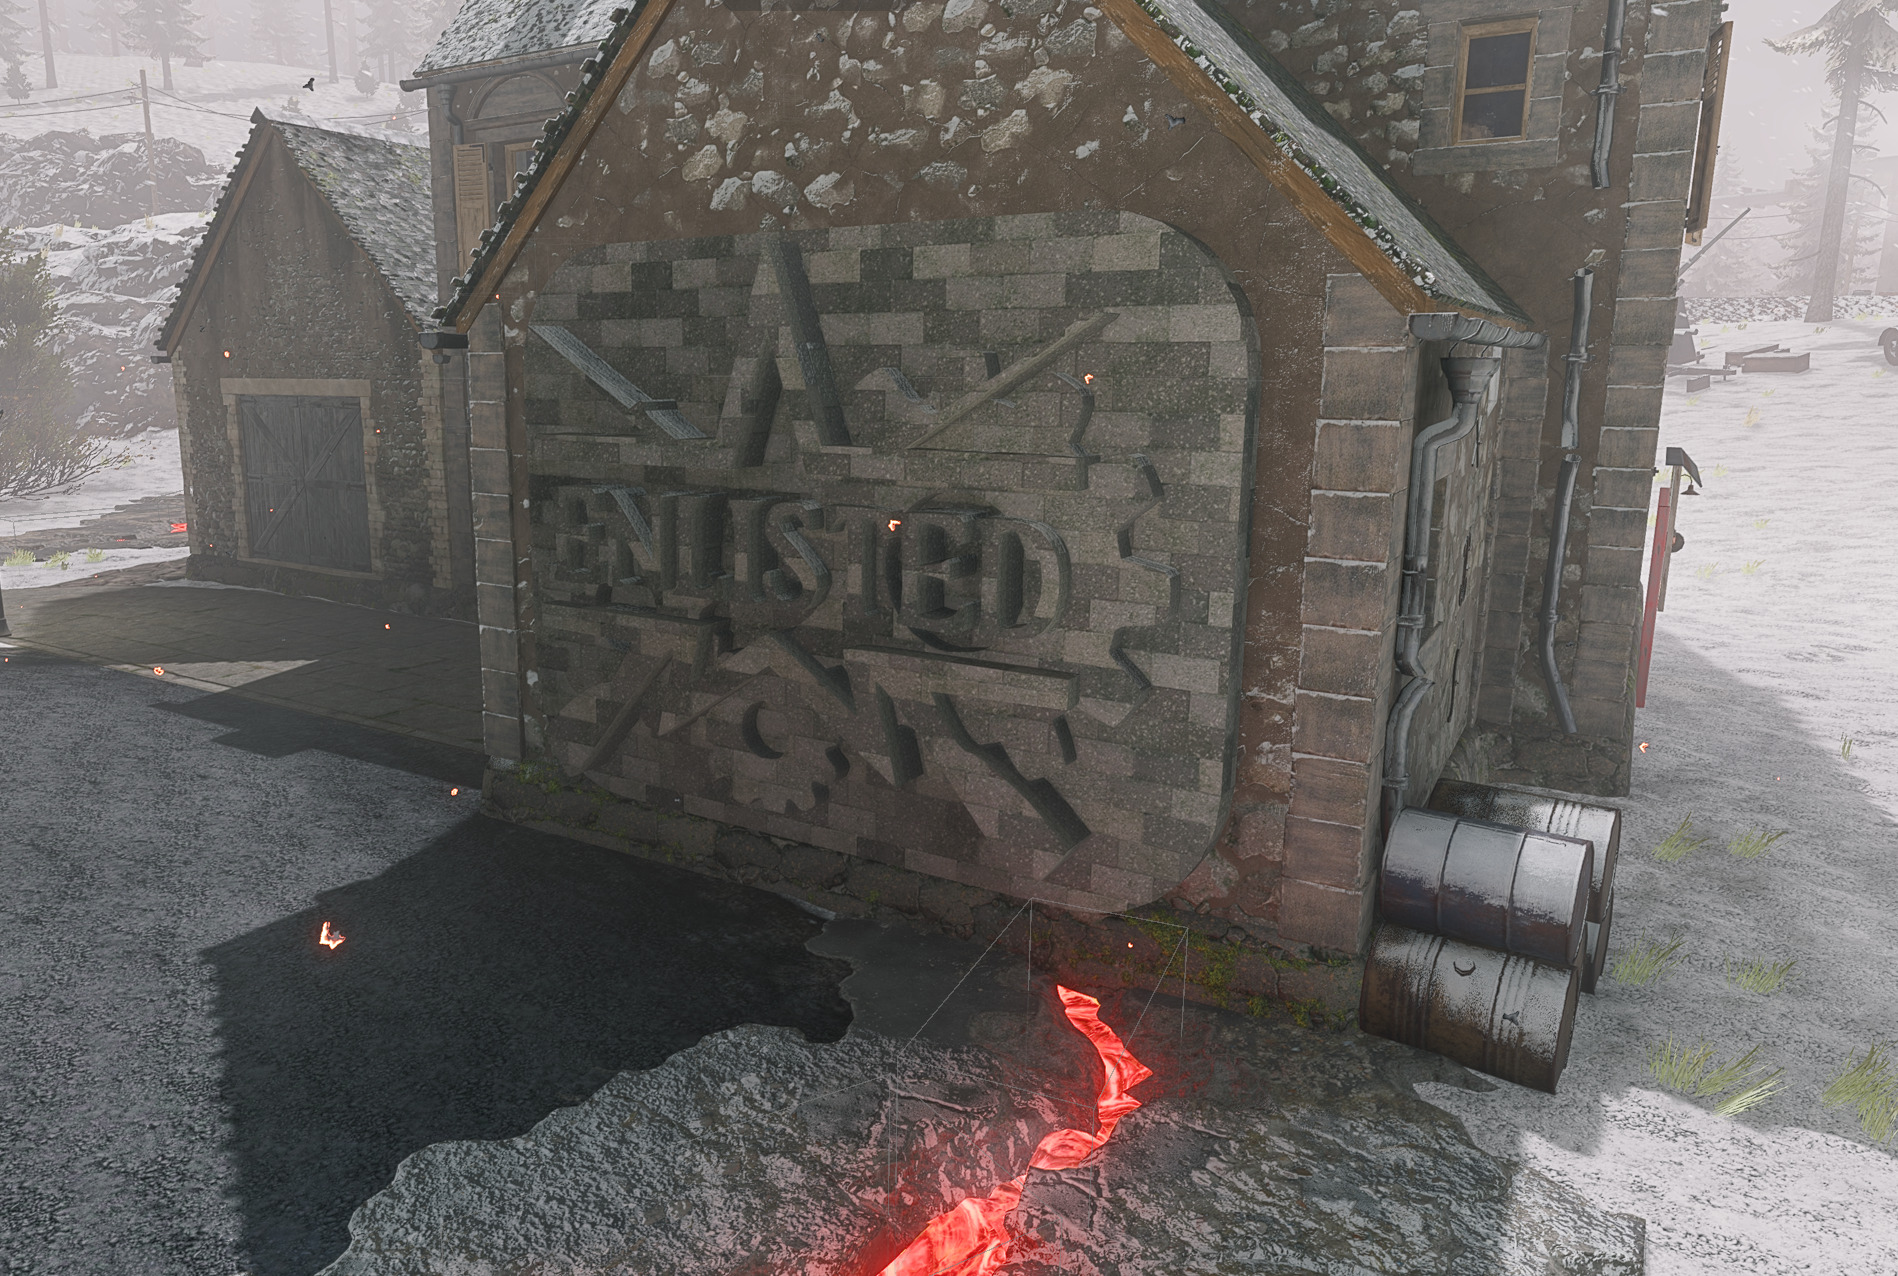
The exported model looks fine. We are done.
Disclaimer: I do not endorse or take responsibility for the usage of this guide to add models that are inappropriate or against ToS. Be respectful and avoid such actions. The sole intent of this guide is to help others create more unique mods for this game. Thank you.