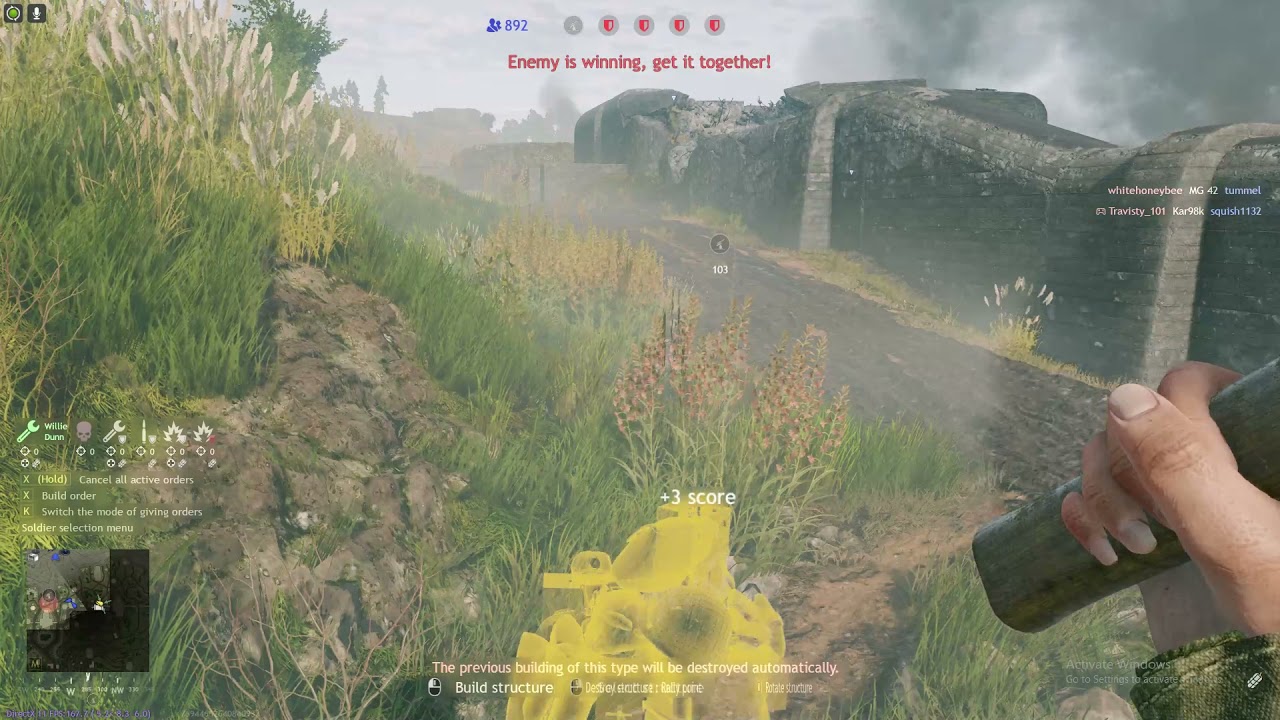
I seen quite a few comments from what I’m assuming are newer players who struggle with the 1st objective on this map. Now is a good time to grind Normandy Allies because the momentum seems to have shifted to the Allies again after they spent a block of time being dominated.
I’ve used this path and often, as in this clip, I’m able to reach the point without firing a shot, unless det packs count as firing a shot.
It would be interesting too see the paths and/or strategies that others have success with on this and other maps.
I didn’t have that feeling during the weekend lol
Go wide right. Go off the map for about 5 seconds to get over 1 of the defensive walls and point a spawn there. Fuck you Mr Hitler 
I think it depends on what time you play. I switched sides on this map an hour after I recorded this
and the Allies couldn’t cap the 1st point.
Yep. I think the best time to play is during day. Now I’m pretty sure it’s a no no for Allies in this campaign.
If you watched the clip, others on my team did flank the opposite side and were all over the bunker behind the objective. I favor the left because it’s usually more difficult for the defenders to mow you down with MG42s from the bunkers.
There’s a cheeky spot by the house on the right side that gets you behind a defensive wall. You can mow enemies down as they approach point and win easily from there
As we know, the objective can be in any bunker. The front bunker objective, as in this clip, usually finds the defenders placing a rally beacon in the bunker behind it, so strategy changes depending on which bunker has the objective.
The rear bunker is usually tougher to cap IMO.
totally didnt even kno u could blow a hole in the walls. can u do so to bunkers?
You can tell which areas can be destroyed by the “look” of the wall, looks like it’s already damaged. Don’t think that there are bunker walls that can be destroyed.
Only the cracked ones.
If you smoke the approach and use tanks to clear bunkers you can just charge head on
Or just be generally cognisant of where the enemy has line of sight.
That works too but you can never guarantee the team is capable of such a herculean feat, so smokes are extra useful
You are assuming that teams work together for a common goal.
Unless playing with friends and communicating, we’re all solo
There’s one mistake: better not touch first wall at all. Rest is good.
True, i always use this path. work great
For our axis friend. There’s a MG nest not too far from this position, just behind the wall. If you fast enough, you can mow down all this rally planter. And there’s a nice building just behind the cracked wall to place some rally.
For me, it depends on which bunker the objective is in. In the obj position in the video clip, it’s the the front bunker, which is far enough that the enemy usually seems to ignore their far right flank.
You don’t need teamwork to figure out where you are and aren’t exposed.
That is usually me but the MG nest is often targeted by snipers and tanks so sometimes it is sweet spot that gets me lots of kills and other times the MG is destroyed by the time I set up rally.
